4.1 Add remove replace material – Add Material

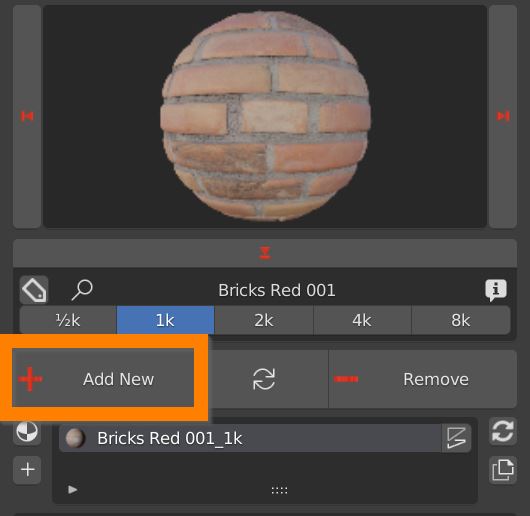
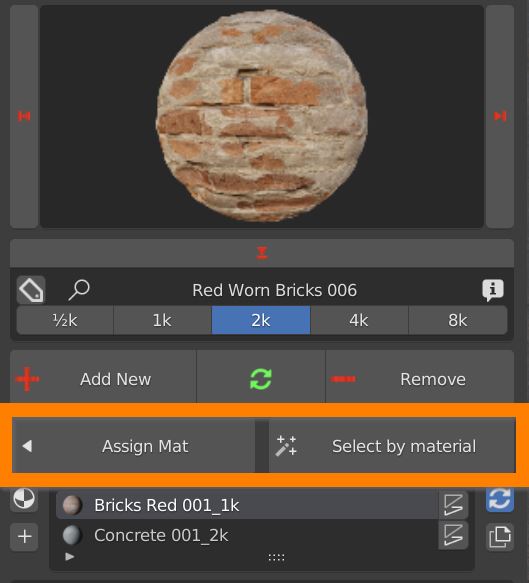
Select your model, select a material and click the Add New Button. The material is applied to the object. An UV map is created if missing.

If the object has a previously applied material, the new one is simply added in the material list, and it has to be assigned in edit mode.

4.2 Add remove replace material – Replace Material

Select one object, select a material from the library, select a material slot if there are more than one. Click the circular arrows button. The material is replaced and applied immediately.

If the blue icon is toggled on, the replace button turns green, and the material will be replaced on every object that uses it, even if unselected.

In order for multiple replace to work, materials have to be the same, not one a copy of another. Check their names: if they are different choose the correct material from the material slot dropdown menu.

4.4 Add remove replace material – Assign Mat / Select By Material

When you switch to Edit Mode Two new buttons show up.

Select some faces and click the Assign Mat button to assign the currently selected material in the material slot.

Select one material slot and click the Select by material button to select all faces on which the selected slot material is applied.