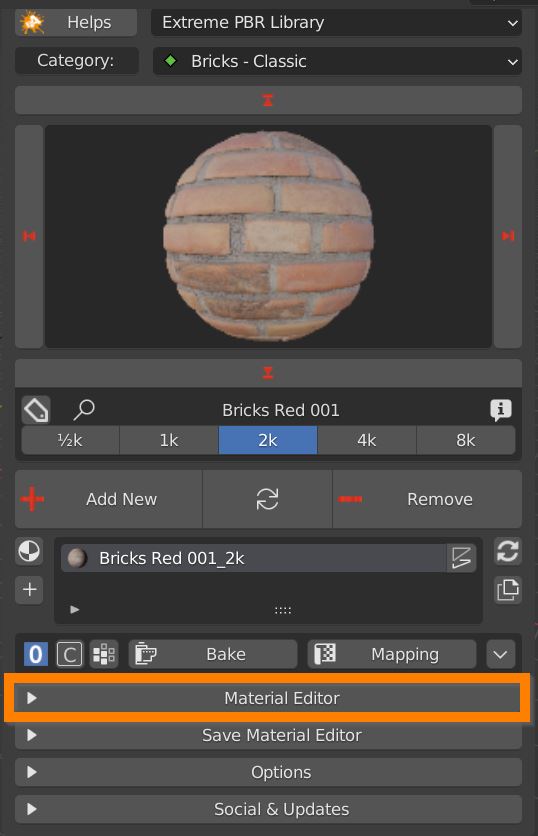
The white triangle arrow reveals all Material editor controls.
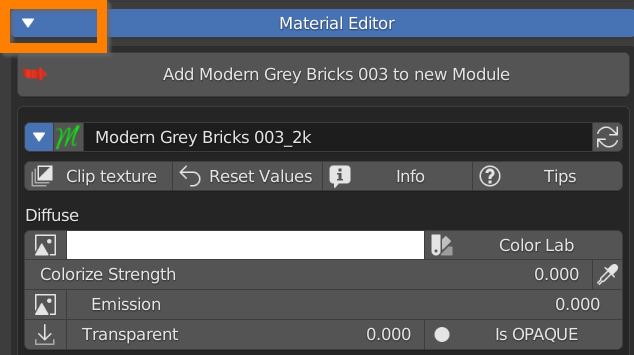

The white triangle arrow reveals all Material editor controls.


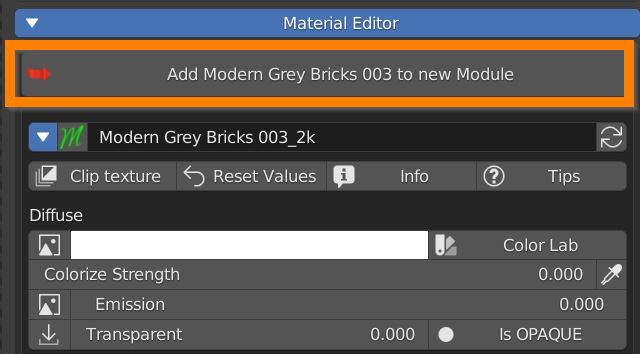
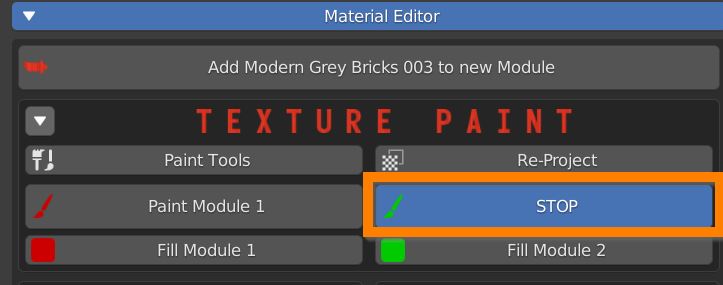
Push the “Add Material to new Module” button to enable texture paint: up to four materials can be loaded as Modules into a single slot, and painted on surfaces.
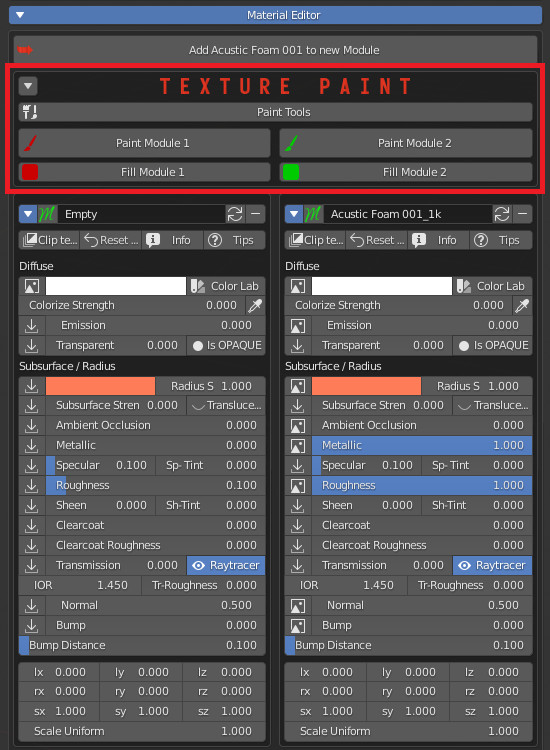
Press Paint Module # to paint the corrispondent material.
Press Fill Module # to apply the corresponding material to the whole selection.
Press Stop to exit Paint mode
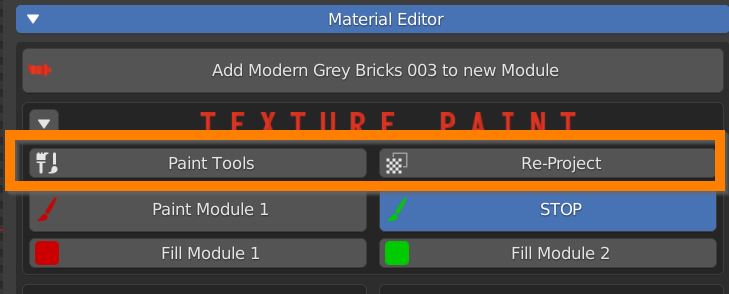
Press Paint Tools to open the Painter Editor, where you can define the brush settings.
If some strokes appear where they shouldn’t, you have some overlapping Uvs: press Re-Project to fix the problem.
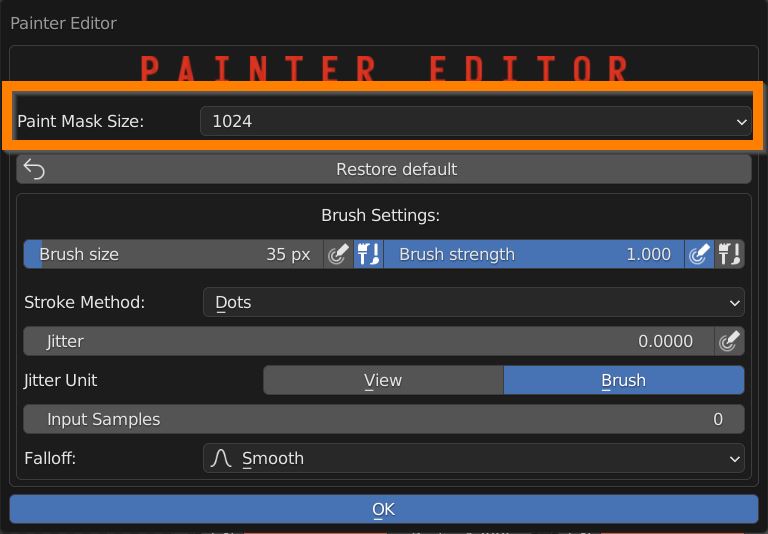
In the Paint Tools panel you can define the size of the texture which acts as a Mask between materials.
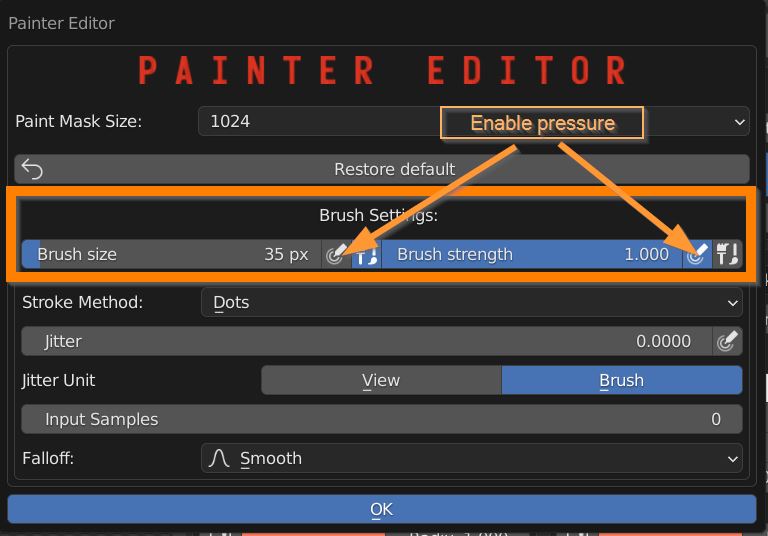
Adjust the size and strenght of the brush, and enable pressure sensitivity when using a graphic tablet.
Switch between three Stroke Methods: Dots (default), airbrush and line.
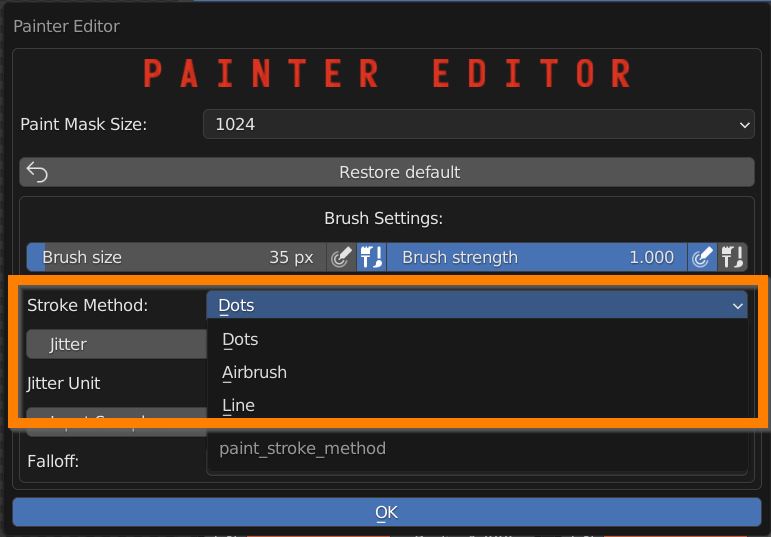
Define the jitter amount, and toggle its pressure sensitivity.
Raise the averaged input samples, to smooth the strokes.
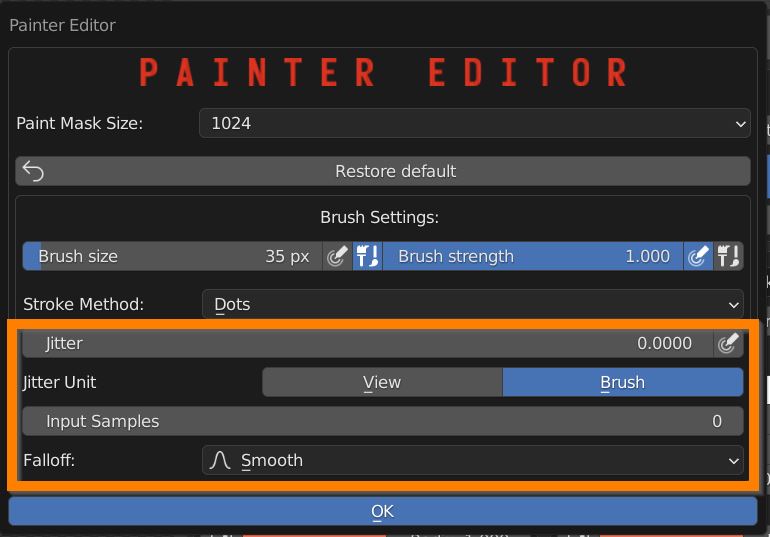
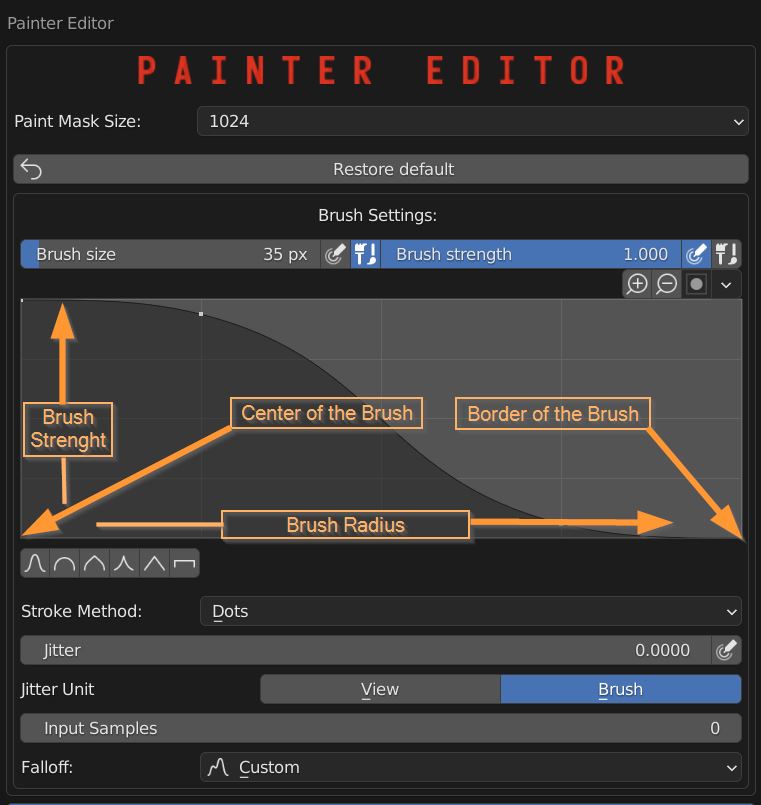
Define a brush falloff, choosing a preset or setting a custom curve.
In the curve editor X represent the brush radius, from the center to the border, while Y represent strenght.
Every module has a list of settings. You can collapse or expand it with the blue triangle icon.
The green Icon lets you swap materials between modules, useful if you want to preserve the painted mask.
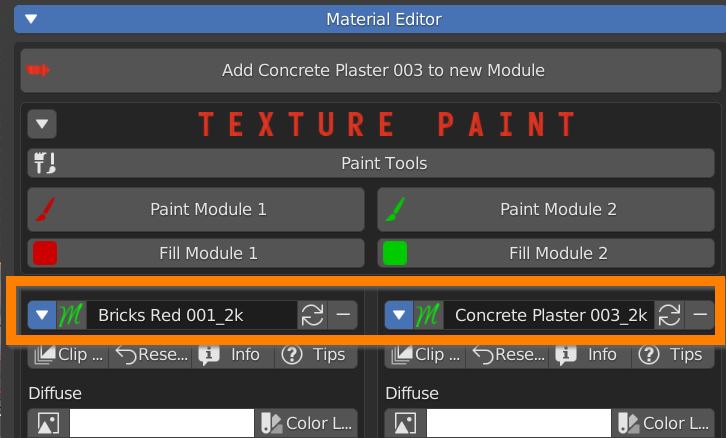
The circular arrows icon replaces the material with the one selected from the library.
With the minus icon you can delete the module.
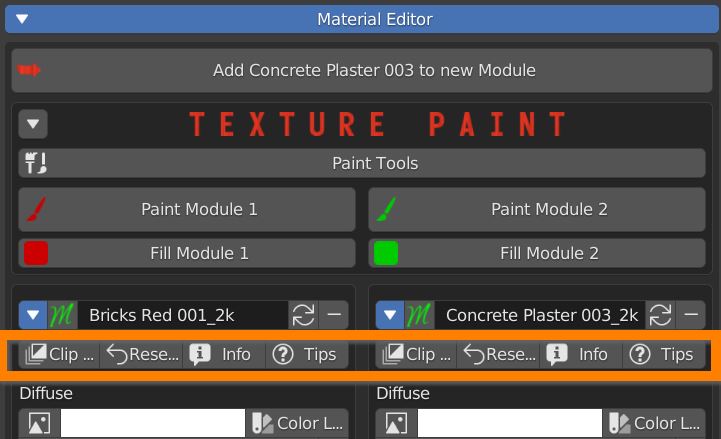
Clip textures lets you turn off repeating on the margins, useful with decals and logos.
Reset Values brings back the default values for every parameter of the module.
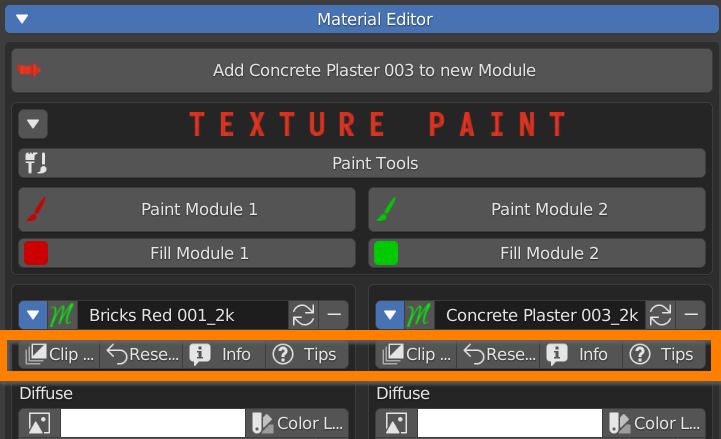
After pressing the Info button, click on the white triangle to show infos on the material, its owners and license permissions (mostly Creative Commons 0).
Tips button reveals some question mark icons, that bring infos on the adjacent parameter.
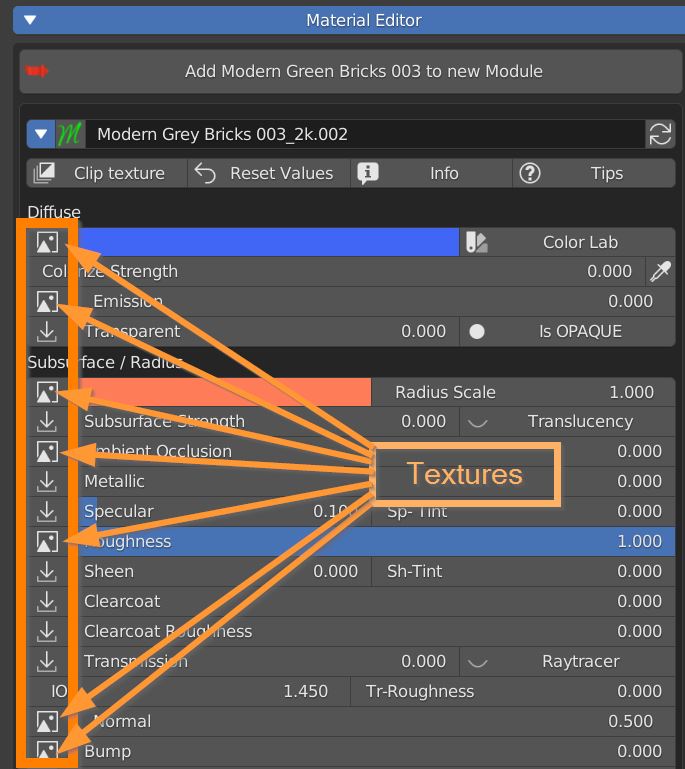
Every time an image icon is next to a slider, it means that there is a texture feeding that input.Click on the icon to open the Texture Manager panel.
Here you can individually manipulate every texture of the material.
The header contains a library browser, where you can select a category, a material from a list, a material by thumbnails and a texture between thoose of the selected material.
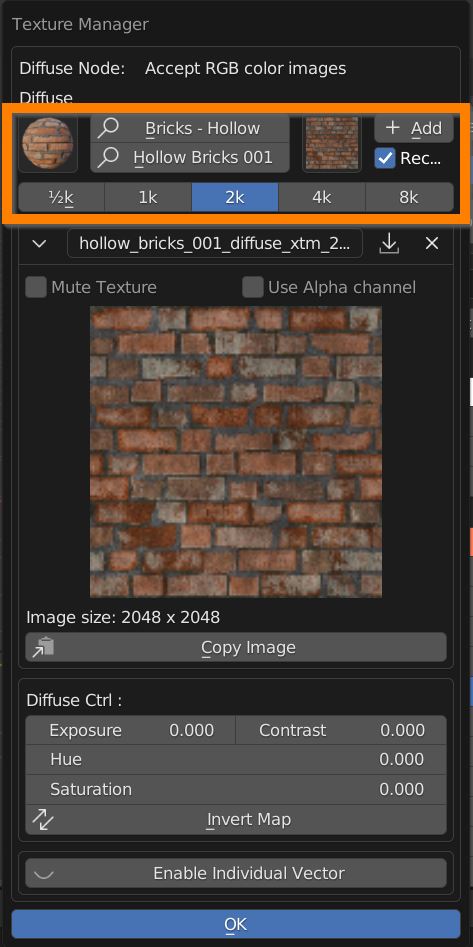
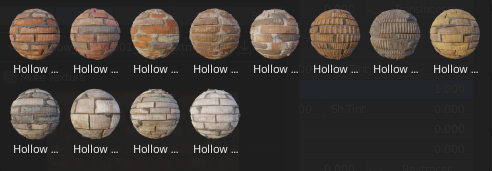
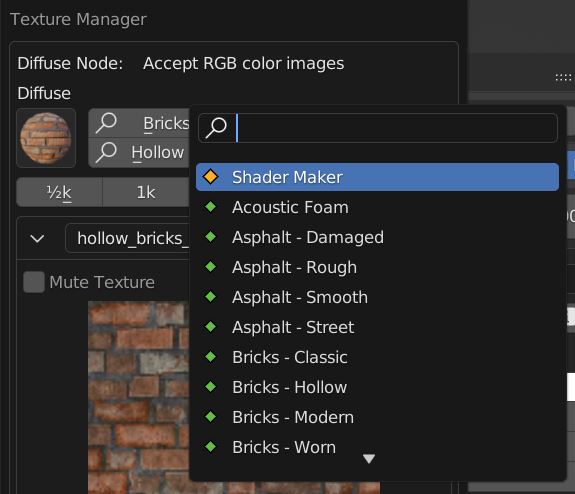
Once an image texture is selected, choose its desired resolution and click on the Add button to replace the image in the slot.

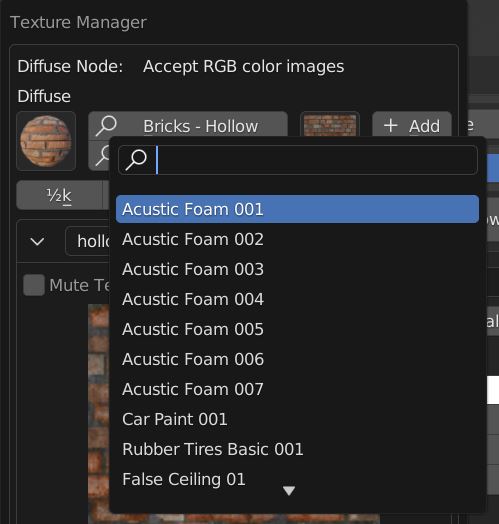

A ticked Rec preference ensures that if a texture is already present it doesn’t get loaded twice.

Click on the dropdown menu button to browse the already loaded textures in the project file.
Click on the file browser arrow to load a new texture from your computer.
The X button disconnect the texture from the slot.
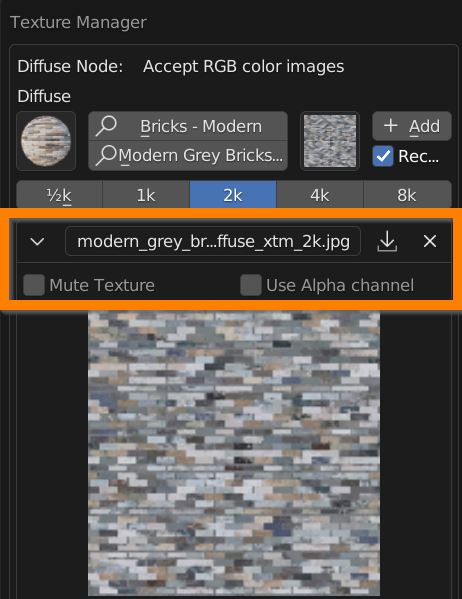
You can Mute the influence of the texture without deleting its connection.
You can use the Alpha channel instead of RGB channels to control the parameter.
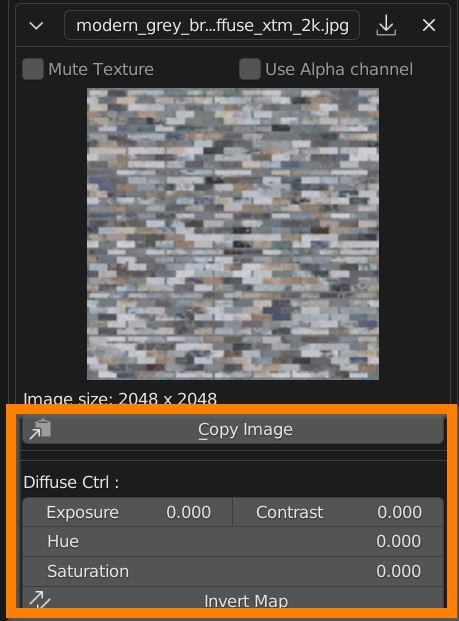
Click on Copy Image button to copy the texture in the clipboard, and paste it into another parameter slot.
You can adjust Exposure, Contrast, Hue and Saturation of an RGB image, and Invert its values with the Invert Map button.
If you click on the Enable Individual Vector, you can adjust Location, Rotation and Scale of the Image independently from the others textures of the material.
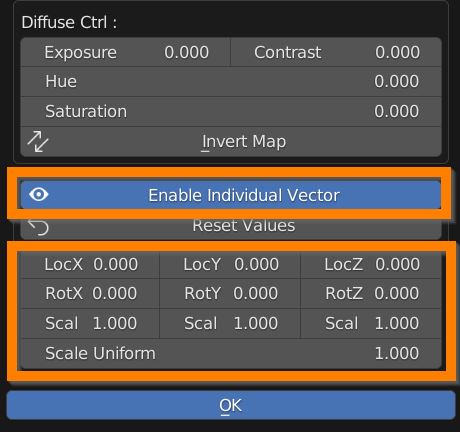
Press OK to confirm the edits.
If the texture manager is called for a single property, a Black and White image is expected, where Black means a value of 0.0, White 1.0, Mid Grey 0.5 and so on.
Non-Color button ensures a linear interpolation between shades of grey and values, if the image has color informations, its color space is turned into “Non-Color” and pixel values are taken into account.
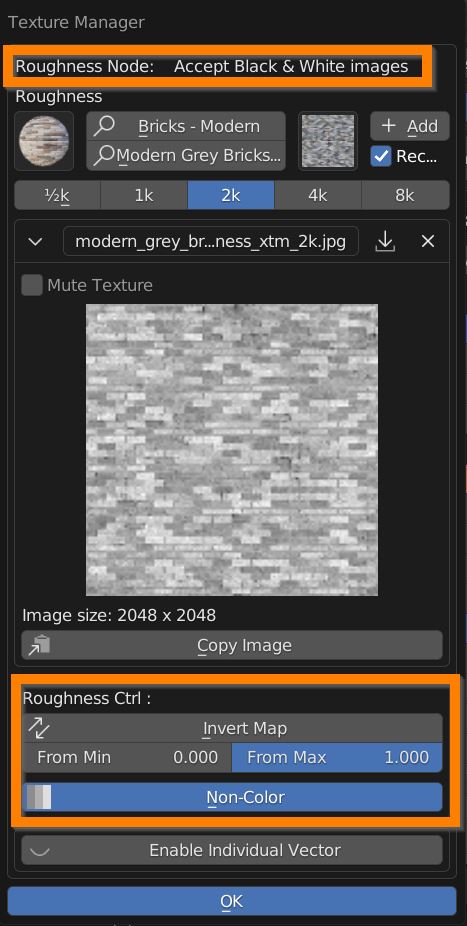
From Min slider crunches Blacks toward Whites.
From Max slider crunches Whites toward Blacks.
In case of Normal Map Texture Manager, you can tick the Use Normal Generated button to derive a normal map from a diffuse or bump texture.
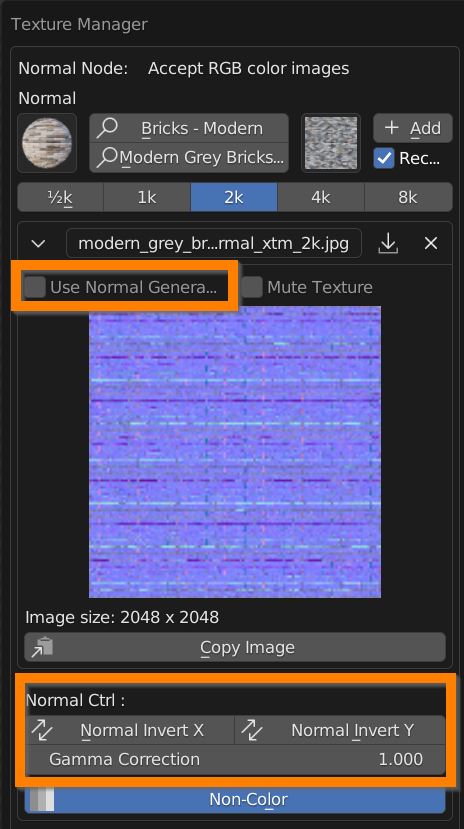
You can Invert X and Y direction and apply a Gamma correction on the Map, to ensure compatibility with different standard generated images.
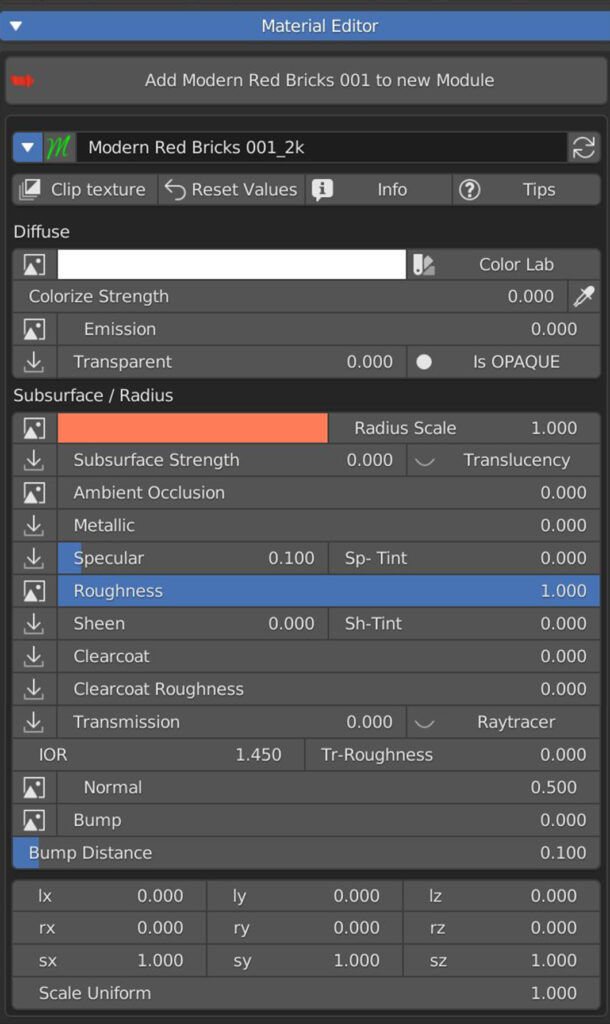
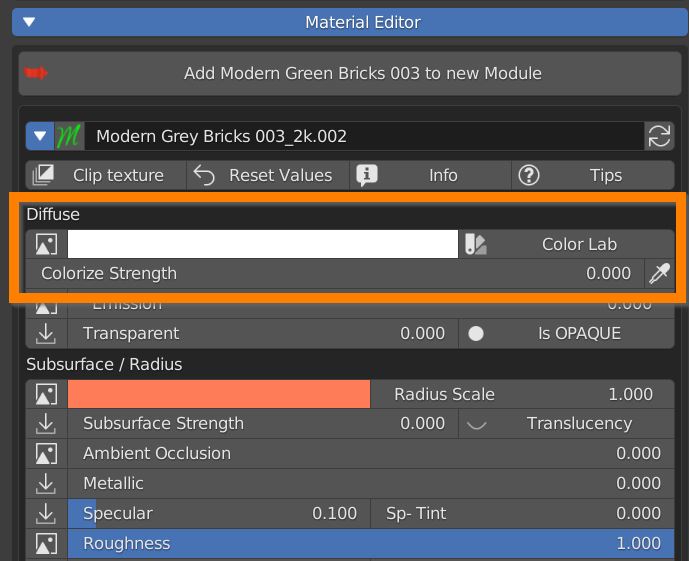
The first zone of material parameters is about Diffuse color.
The Colorize strenght slider lets you mix the diffuse texture with a color that you can choose using the color swatch clicking on the white color area.
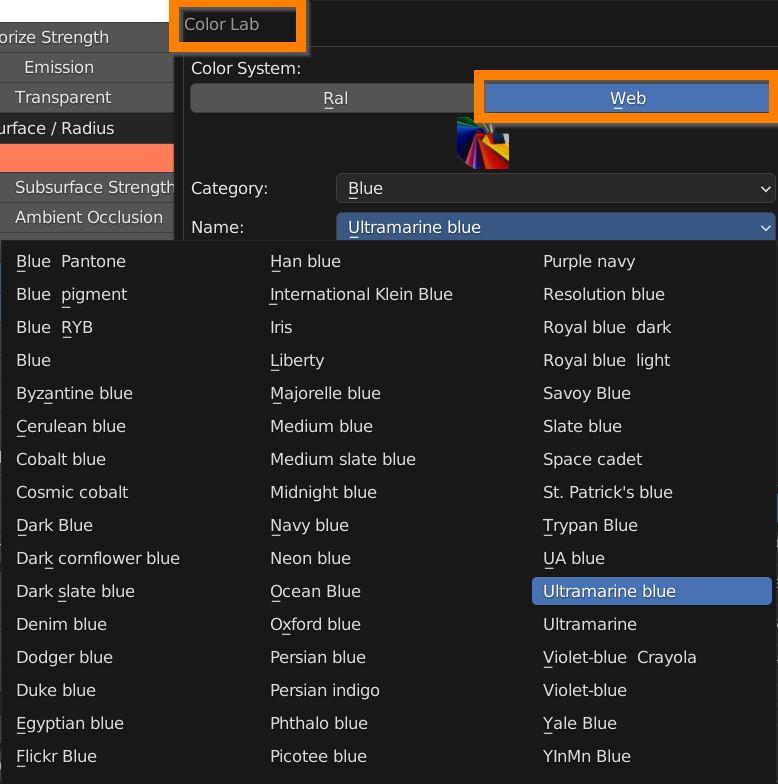
You can even choose a color from a list of RAL and Web coded colors pressing the Color Lab button.
In the Color Lab panel, choose a color library (Ral or Web), choose a category and select a named color from the dropdown list.
Press OK to confirm, and adjust the Colorize Strenght slider to set the influence. If no texture is used, influence is always 100%.
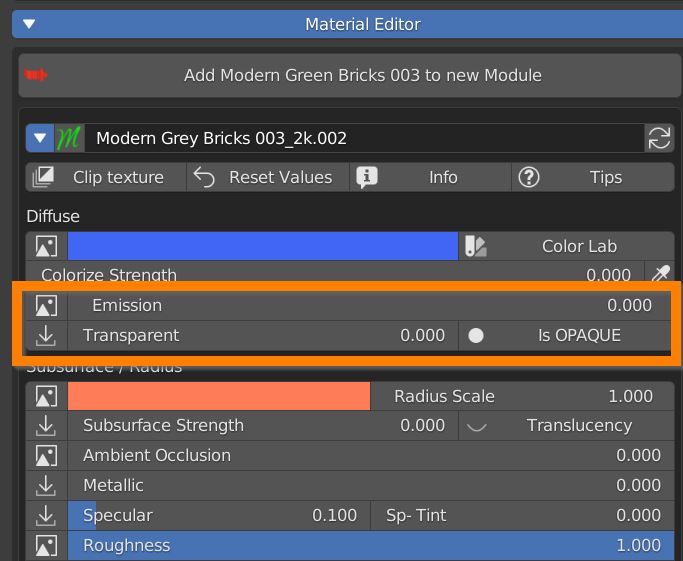
Many materials share the same texture between Diffuse and Emission. Set the emission power with this slider.
Some transparency can be set with the next slider, open its texture manager to control transparency with Black and white image pixel values.
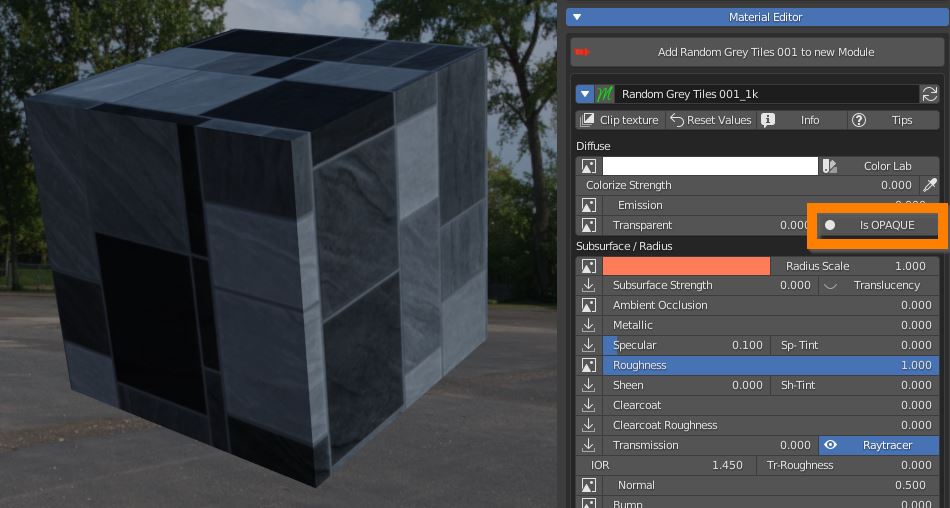
Be aware that if you’re in Eevee or LookDev shading mode you have to click the button to set the material as Is BLEND, Is HASHED or Is CLIP in order to use transparency.
Is BLEND blends every pixel between material and transparency, Is HASHED perfoms the blend in a noisy fashion (faster), Is CLIP sets as transparent only pixels under a threshold value (useful for texture controlled transparency).
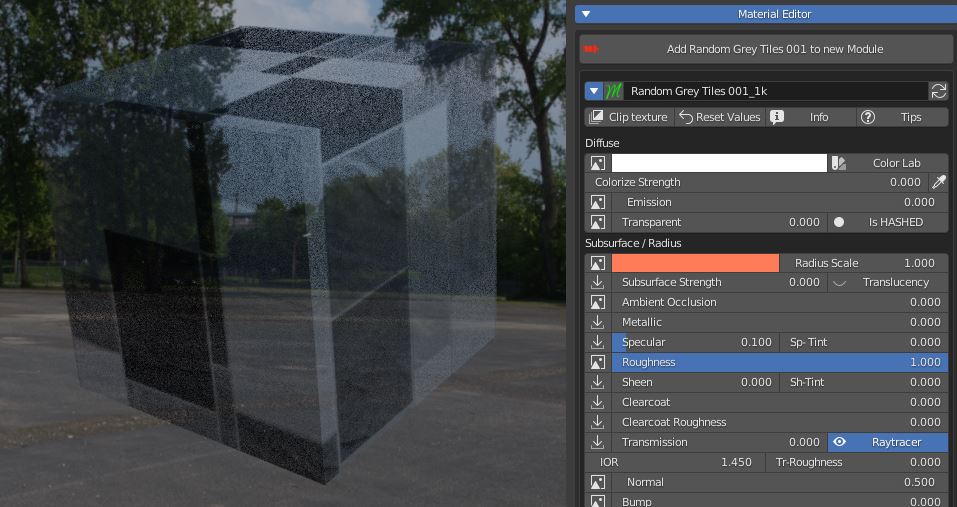
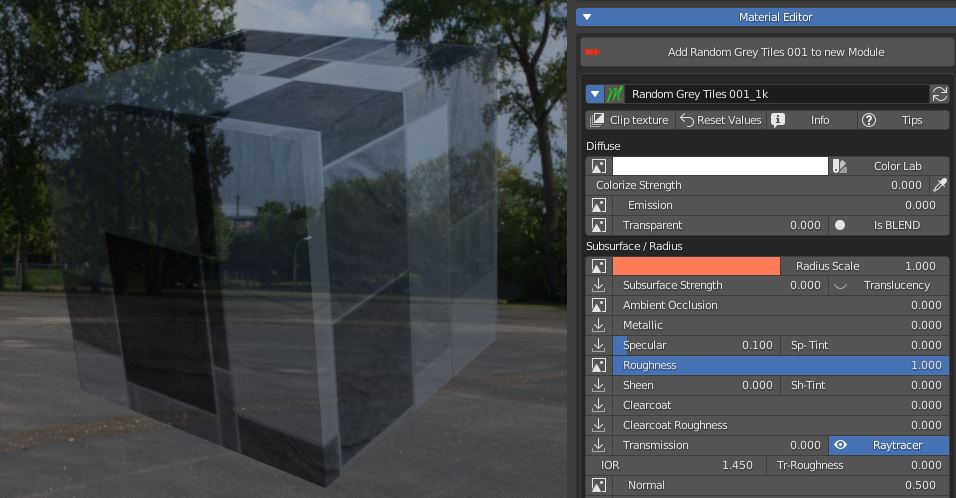
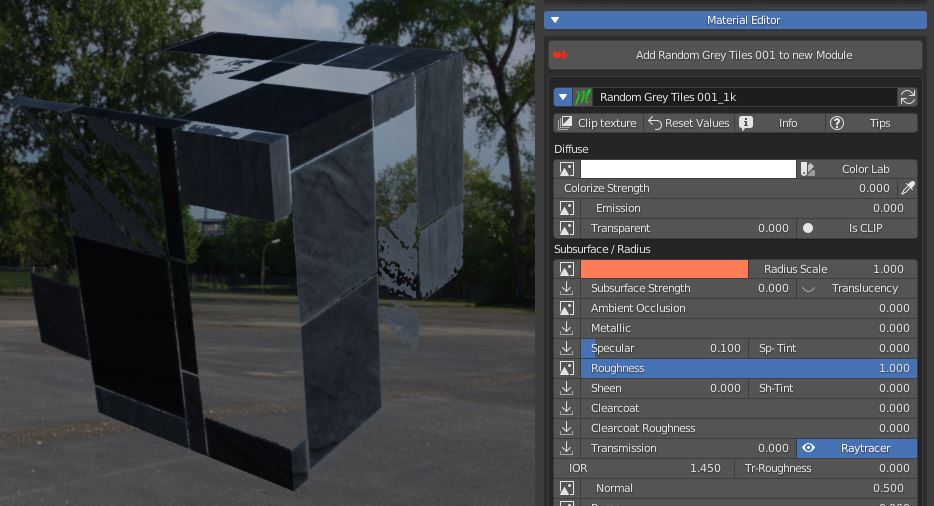
Subsurface scattering (SSS) is used to simulate light which enters the material, scatters inside, and then comes back out (like wax, skin, food).
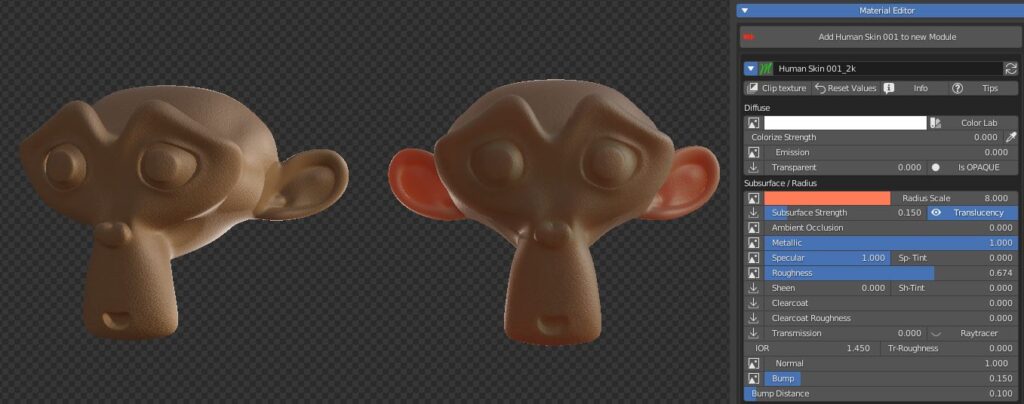
This scattered translucency can be colored by a texture and a color wheel.
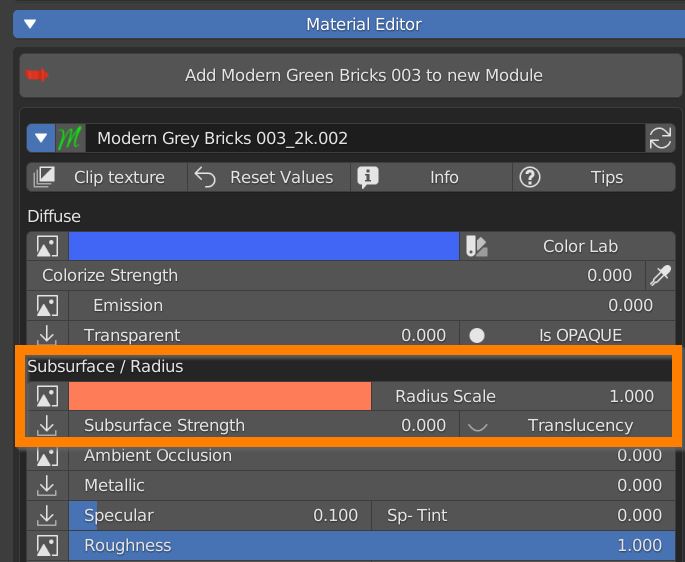
You can set the Radius scale (maximum light path lenght), and a strenght slider.
If using Eevee enable the translucency button.
Ambient Occlusion slider set the amount of the effect if an AO texture is present.
Metallic slider defines wheter the material is Dielectric (Black pixels on the texture) or Metallic (white pixels).
Specular slider sets the intensity of specular reflections. Sp Tint allows coloured reflections.
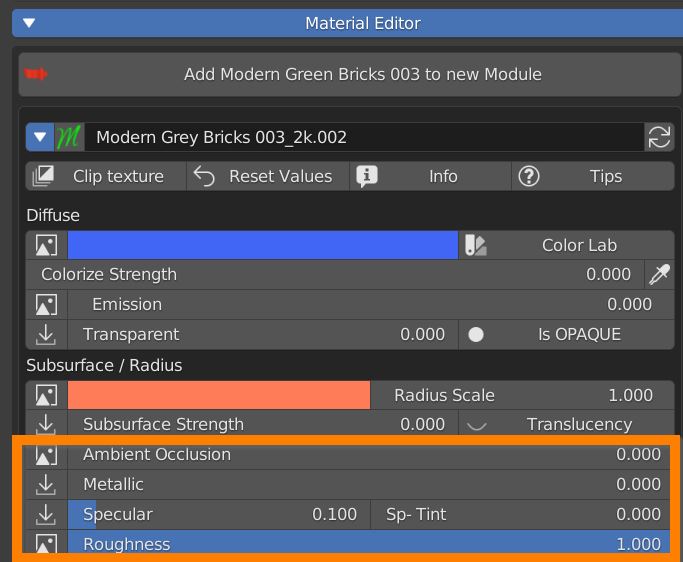
Roughness value controls the radius of reflections blurriness: 0.0 (black) means sharp reflections (mirror-like), 1.0 (white) means totally diffused bounces.
Roughness is one of the main controls that impact on how a material looks.
Sheen slider adds some extra brightness on the edges of the model. There’s a Sheen tint slider too.
Clearcoat adds an extra layer of glossiness, with its own roughness value, useful when simulating car paint, eyes and others materials with a transparent and reflective layer.
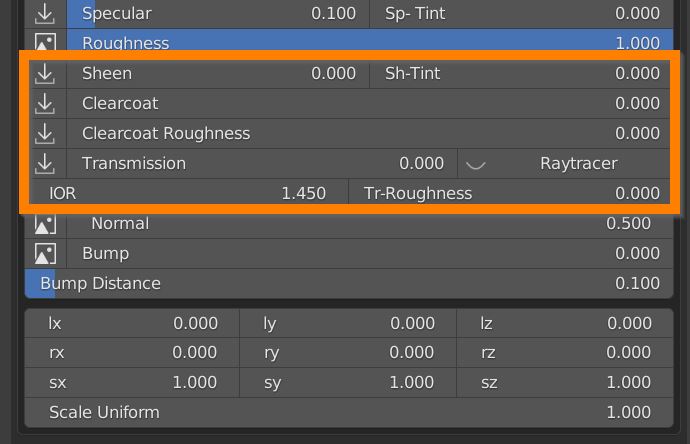
Transmission slider mixes between opaque and glass-like transmission behaviour. A Transmission Roughness can be set.
IOR is the real physiks Index Of Refraction value of the glass-like simulation.
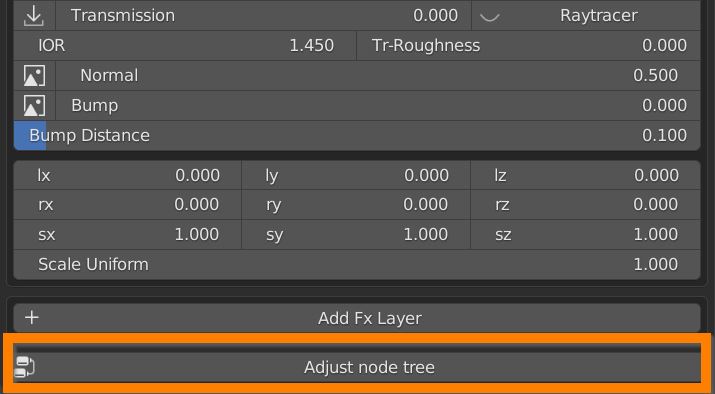
In Eevee and LookDev shading mode turn on Raytracer.
Normal sets the influence of the Normal Map.
Bump controls the output of the Bump map, Bump Distance is a multiplier of its input.
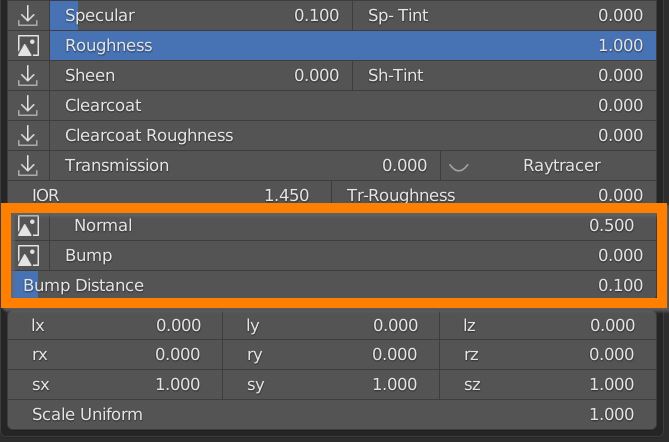
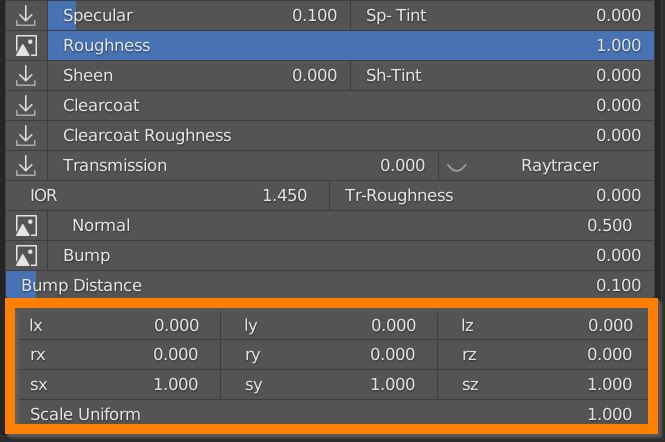
Lastly we have 9 values controlling the transform of the material textures as a whole (loc, rot, scale), plus a Scale Uniform that multiplies the 3 scale values together (see mapping section).
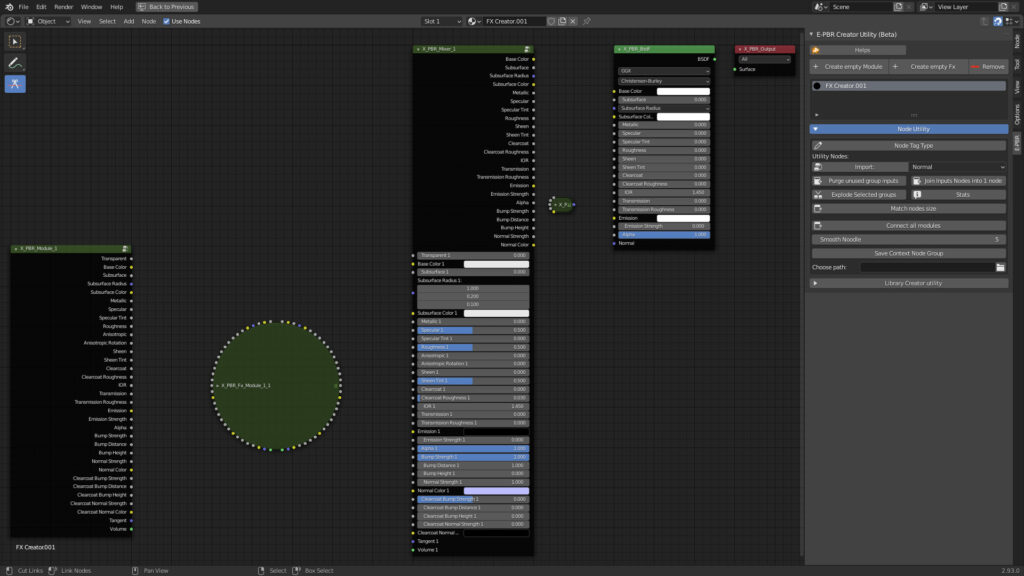
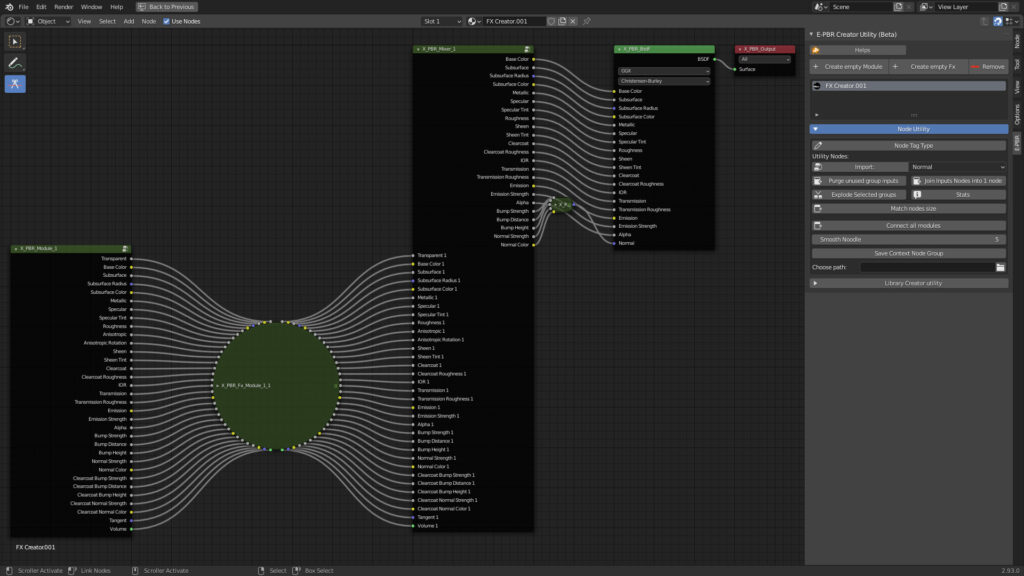
This button, in case there are Nodes problems in the Extreme PBR Nexus node tree, will try to fix and eventually reconnect the disconnected nodes.
